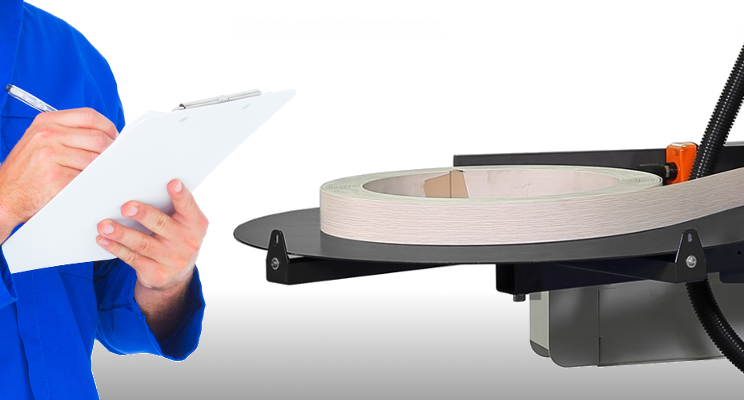
Proper edgebander maintenance.
Edgebanders are one of the more complex machines in operation in most cabinet and millwork shops. The maintenance however is imperative to the performance and reliability of the machine. Without it you can experience a poor edge quality which will result in hand finishing and defects and worst of all significant down time and expense in repairing the machine. There are some basic maintenance tips that can greatly reduce the downtime you experience on your edgebander and keep it the lifeblood of your operation.
Below are a few tips on how to keep your edgebander running:
1) CLEANLINESS
It is very basic but critically important, especially on Edge Banders. The majority of service calls we receive on edgebanders are the result of a machine that has been neglected. The trimmings produced during edgebanding operations are more difficult to collect in a dust system than wood products. The shavings and trimmings can build up on tracing wheels, damage switch components and electrical components. At the end of each day the operator should open up the sound enclosure and used compressed air to clean the machine thoroughly. Ensure there is no build up of chips on the tracing wheels for the top and bottom trimmer and scraping units. This will result in poor edge quality as the tracing wheels cannot follow the panel properly. Periodically you should open up the electrical panel and use a vacuum system to suction off the dirt build up on the electrical components. Dust can cause havoc on electrical contactors and will result in costly downtime.
2) PROPER DUST COLLECTION
Proper ducting and dust collection is another item that is often overlooked when installing an edgebander. It is ideal to have the majority of the ducting to your machine as steel ducting and minimize the flexible pipe as much as possible. Flexible ducting causes friction when collecting particles and this will reduce the effectiveness of the dust collector. You will require some flexible piping as the top beam needs to move up and down but keep it to a minimum. Also avoid using PVC piping as this can cause static electricity which will again reduce the effectiveness of the dust collector and worse yet potentially cause a fire hazard.
3) LUBRICATION
The glue pot is the heart of any edgebander, without the proper lubrication it can lead to catastrophic results. Some edgebanders like our Bi-Matic series do no require lubrication. Bi-Matic use a high wear and heat resistant Teflon bushing instead of bearings on the glue spindle. The advantage to this system is that it does not require regular maintenance. For other brands you typically need to lubricate the glue spindle with high temperature grease to guard against the bearings wearing prematurely. If the bearings go in a spindle you typically need to replace the complete spindle assembly which can be very costly. Regularly lubricate the chain track of the machine. The glue spindle is typically driven by a chain and sprocket and this is located underneath the glue pot in the base of the machine. This should also be regularly lubricated. For frequency of application you should refer to your owners manual but typically twice a week for lubricating the chain track and spindle sprocket and chain. It is important to follow the recommended type of lubrication specified by your machines manufacturer. Mixing lubricants can cause them to break down in some cases as the chemical makeup can counteract each other. Also regularly check the air regulator to ensure there is oil in the reservoir. If your machine does not have this then you should weekly take off the air lines and put a few drops of air tool oil in the fittings to keep the pneumatics running properly.
4) COMPRESSED AIR
Many of the components on an edgebander are controlled by pneumatics. Water in air lines can cause havoc on pneumatic components. It is strongly recommended that you have an air drier and use water traps before your machines. Most machines come with a filter regulator with an air trap but this is not adequate enough to catch all of the moisture before it gets into your machine.
5) PROPERLY MAINTAINED GLUE POT
As discussed earlier the glue pot is the heart of any edgebander. The glue can be messing and when applying too much it can get pulled through the machine. It is important to apply the right amount of glue. You should not have any excess glue on the top or bottom of your edge. After a piece comes out of the machine go and pull of the banding to expose the glue edge. There should be good consistent coverage of glue without any gaps. The hot melt glue in the glue pot heats up and cools down throughout the day. Most modern edgebanders have automatic temperature lowering systems built in to guard against over-cooking the glue. Bi-Matic machines employ this feature and also use a lower temperature for pre-heating the glue and only head a small amount of glue to the full temperature before going into the spindle. When glue is heated at a high temperature for too long it can discolor and over time it will build up a carbon wall inside the glue pot. Each day you should take a wooden stick (like a wooden paint mixer) and scrape the walls of the glue pot to remove any build up. Do not use metal as the inside of the glue pot is typically coated with Teflon. Semi-annually it is a good idea to purge the glue from inside the pot and give it a good cleaning. The best method for removing the glue from the glue pots is to heat up the glue pot and put a few wooden sticks in the pot and let it cool down. Once it is cool and the glue is solid turn the glue pot on again. The walls of the glue pot will heat up the edge of the glue and then put the sticks out. You should be able to remove most of the glue this way. Once you most of the glue removed then some good old elbow grease can do the rest. If the wall of the pot is dificult to clean, remove the complete glue pot and glue spindle from the machine.
6) GLUE QUALITY
The proper glue selection is critical to the quality of your edgebanding operation. There are many different qualities, viscosities, colors, and operating temperatures. A poor glue selection can result in a poor edge bonding and make a good edgebander look very bad. Discuss this with your equipment supplier as they will typically have a recommended glue specification that works well with their machines.
7) TOOLING
This one is quite straight forward. Sharp tools provide clean edges. Sharpen or replace the tooling when it gets dull and rotate and change the buffing units when they are worn or clogged with residue.
8) TOUCH SCREEN CONTROLS
Touch screen controls are becoming more prevelant on woodworking machines. There are many advantages of this control such as memory storage capacity and quick adjustments. The one downfall is that they are a touch screen. If pushed too hard or hit with a panel you can crack the screen. A new screen would need to be supplied from your equipment supplier.
If you follow these suggestions you are sure to have an edgebander that runs consistently and constantly. Put together a maintenance schedule and post it to the machine. Computers are another tool to help with scheduling. Outlook has the capacity to alarm yourself for scheduled appointments. Put the maintenance schedule in Outlook and never miss a scheduled servicing.
Should you have any further questions please contact our service department and they would be happy to speak with you or book an appointment for one of our technicians to go through your machine.


